
Moving In: The Walkthrough Checklist That Could Save You Hundreds
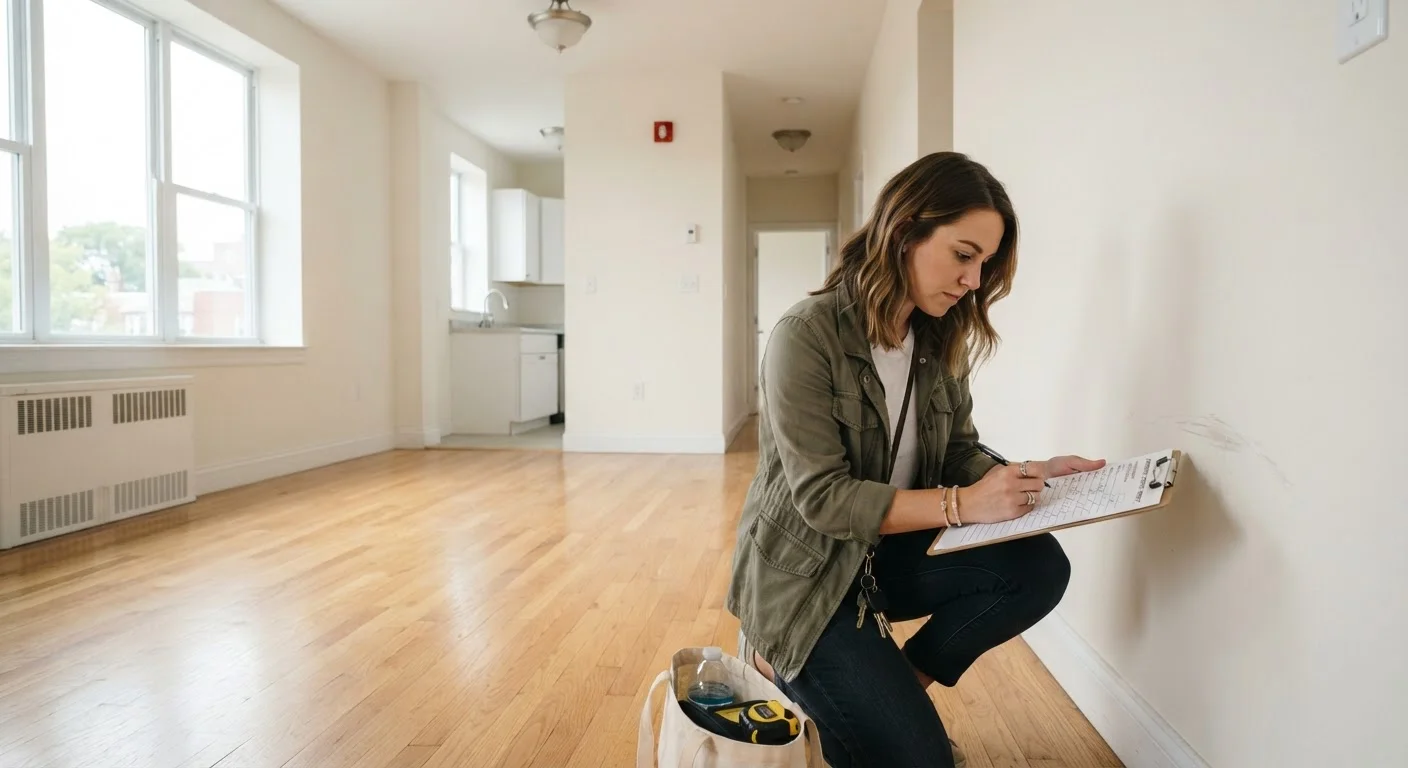
Photo credit: FaqInsider.com
In this article
Document every scuff, stain, and broken fixture before you unpack. This room-by-room checklist helps you avoid unfair move-out charges.
Key Takeaways
- Document every pre-existing flaw in writing and with photos before unpacking a single box.
- A signed, dated move-in inspection form is your strongest defense against unfair deposit deductions.
- Landlords in most U.S. states are legally required to return deposits within a set timeframe and itemize any deductions.
- Test every appliance, outlet, and fixture on day one - discovering problems early creates a clear record.
- Share your completed documentation with your landlord and keep copies in a secure location.
Why the Move-In Walkthrough Is Non-Negotiable
Security deposit disputes are among the most common conflicts between renters and landlords in the United States. The core issue is almost always the same: at move-out, there is disagreement about what damage existed before the tenant arrived. A thorough, documented move-in walkthrough eliminates that ambiguity.
The inspection you conduct on day one - before a single piece of furniture touches the floor - creates a baseline record of the unit's true condition. Without it, you may find yourself paying out of your deposit for a carpet stain you never caused or a cracked tile that was there when you moved in. With it, you have timestamped evidence that can resolve disputes quickly and in your favor.
This process is especially important if you're new to renting. As part of the complete renter's roadmap, the move-in inspection is a foundational step - not an optional extra. If you're still evaluating units, our guide on apartment hunting mistakes covers why skipping the walkthrough is one of the costliest errors renters make.
Your Security Deposit Has Legal Protections
In most U.S. states, landlords are required by law to return your security deposit within a specific window - commonly 14 to 30 days after move-out - along with an itemized list of any deductions. Deductions for damage that was pre-existing and documented in your move-in inspection can generally be challenged. Knowing your state's specific rules before you move in gives you a significant advantage.
What to Bring and How to Start
Arrive at the unit before your moving truck does. You need the space empty to see every surface clearly. Bring a flashlight - built-in phone torches work - to inspect the insides of cabinets, closets, and under sinks where lighting is poor and problems hide easily.
Use a structured inspection form rather than freehand notes. A room-by-room format ensures nothing gets skipped and creates a document that a landlord can co-sign on the spot. If your landlord hasn't provided one, you can create your own using the checklist groups below as a guide.
Smartphone with camera
Capture timestamped photos and video of every room and documented flaw.
Written move-in inspection form
Provide a structured, room-by-room record that both you and the landlord can sign.
Flashlight or phone torch
Illuminate dark corners, under-sink cabinets, and closet interiors where flaws are easy to miss.
Phone charger or plug-in tester
Quickly verify that every electrical outlet is live and functional.
Cloud storage account
Back up all photos and documentation in a location that is safe even if your device is lost.
Photograph every room before you note anything on paper. Start in one corner and sweep systematically - walls, floor, ceiling - before moving to fixtures and appliances. This approach prevents the tunnel vision that causes renters to document the obvious stain but miss the cracked window latch nearby. For a complementary perspective on reading a unit's physical condition, see our guide on what to look for before handing over a deposit.
Don't Sign Anything Until You've Inspected
Some move-in forms double as acknowledgment that the unit is in satisfactory condition. Read every line before signing. If your landlord pressures you to sign before you've had time to complete a thorough walkthrough, note that pressure in writing and request additional time. Signing prematurely can waive your right to dispute pre-existing damage.
Verbal Agreements Offer Little Protection
If your landlord verbally acknowledges a damaged baseboard or a stained carpet, that conversation may not protect you at move-out. Document every acknowledged flaw in writing on your inspection form and confirm via email so you have a durable, dated record.
The Room-by-Room Walkthrough Checklist
Work through each area of the unit methodically. The checklist below is organized by category, with each item flagged by priority. Must items are non-negotiable for protecting your deposit. Should items are strongly recommended and take only moments to check.
Preparation
Walls, Floors & Ceilings
Kitchen
Bathrooms
Electrical, Heating & Cooling
Windows, Doors & Exterior Access
Finalizing Your Documentation
If you notice something that looks like a developing structural or moisture issue - not just cosmetic - document it carefully and report it to your landlord in writing immediately. Catching problems early establishes that you are not responsible for conditions that worsen over time. For broader context on reading a home's warning signs, this home maintenance guide offers practical guidance on what different stains, sounds, and cracks can signal.
Locking In Your Documentation
Completing the walkthrough is only half the job. How you preserve and share that documentation determines whether it actually protects you.
After finishing your inspection, compile every photo and video into a clearly labeled folder - organized by room - and upload it to cloud storage immediately. Email the completed inspection form to your landlord the same day with a subject line that includes your unit address and move-in date. That email creates a timestamped, server-side record that neither party can easily dispute.
Ask your landlord to confirm receipt in writing. If they co-signed the form in person, keep the original and send them a scanned copy. Store your documentation for the full duration of your tenancy plus the period your state allows for deposit dispute resolution - which can extend several months beyond your move-out date.
This article is for general informational and educational purposes only and does not constitute legal or financial advice. Security deposit laws vary by state and locality. Consult a qualified attorney or tenant advocacy resource in your area for guidance specific to your situation.

Author
Real Estate Editorial Team
Real Estate Editorial Team is the collective byline for our editorial team and contributor network. Articles published under this byline or an editorial pen name are researched, written, and reviewed according to our editorial standards for clarity, consistency, and independence before publication.
View all articles →