
Drywall Repair: From Small Holes to Large Patches
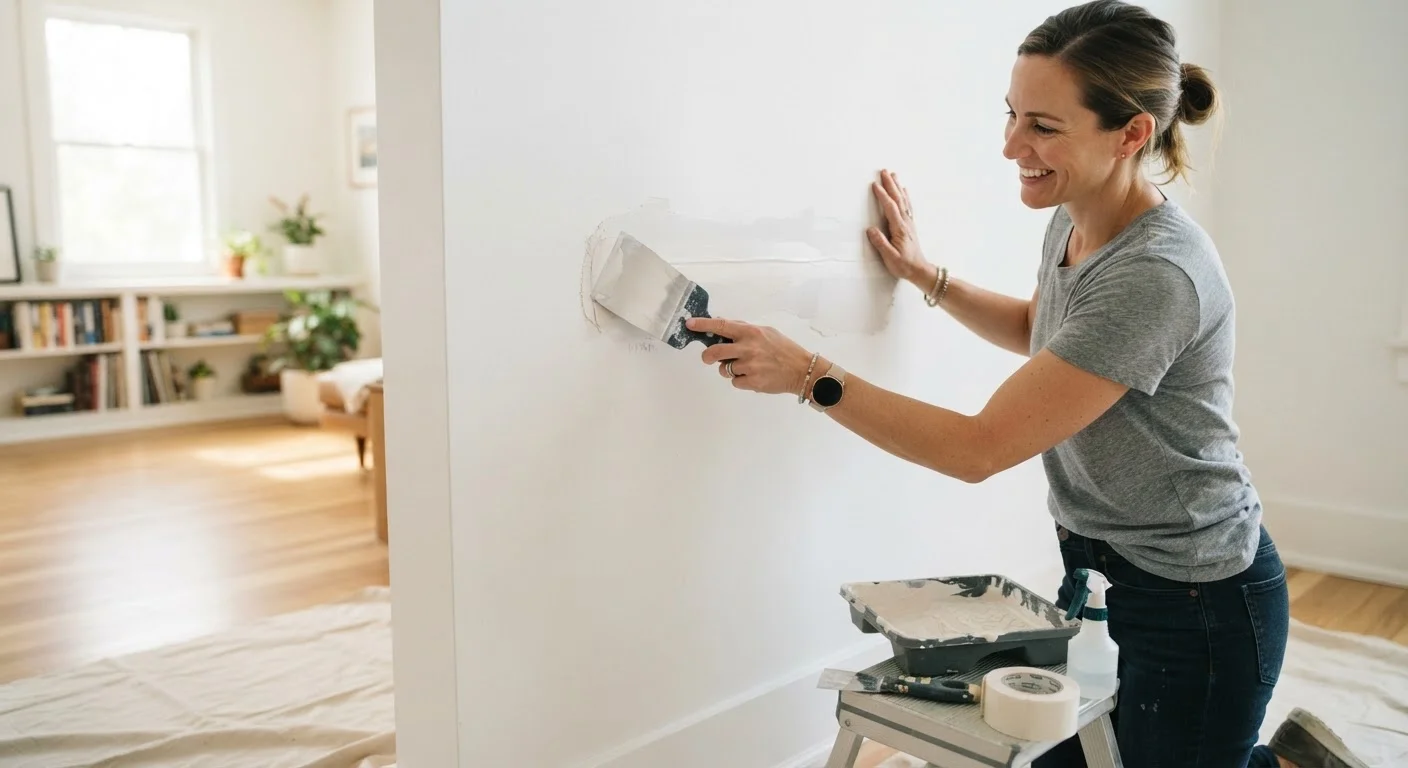
Photo credit: FaqInsider.com
In this article
A practical walkthrough for fixing drywall damage of any size, including the tools, techniques, and finishing steps that produce a seamless result.
Key Takeaways
- Repair method depends on hole size: small holes need only compound, larger ones require a backing patch or new drywall section.
- Proper surface preparation and feathering joint compound are the keys to an invisible repair.
- Multiple thin coats of compound produce better results than one thick application.
- Sanding between coats and priming before painting ensure the patch blends seamlessly with the surrounding wall.
- Large repairs - especially near electrical, plumbing, or load-bearing elements - may warrant a professional assessment first.
Understanding Your Repair Before You Start
Not all drywall damage is equal, and choosing the right approach from the start saves time and prevents frustration. Small holes - nail pops, picture hooks, or minor dings under ½ inch - can be filled directly with lightweight joint compound. Medium holes (½ inch to about 4 inches) need a rigid backing or a self-adhesive mesh patch to bridge the gap. Larger damage, such as a fist-sized hole or a section of water-damaged drywall, typically requires cutting out a clean rectangle and installing a new piece of drywall secured to backing boards or existing studs.
Before picking up a putty knife, inspect the area carefully. Look for signs of moisture, mold, or discoloration that could indicate an ongoing leak - repairing drywall over an active water problem will only lead to repeat damage. If you see soft, crumbling, or darkened material, address the root cause first. Planning your repair within a broader renovation scope can help you sequence work correctly if multiple issues need attention at once.
What you will need
Tools and Materials You'll Need
Having the right supplies on hand before you begin prevents interruptions mid-repair. The exact list shifts by repair size, but the core toolkit remains consistent.
Lightweight joint compound (pre-mixed)
Used to fill holes, embed mesh tape, and build up smooth finish coats.
Putty knife or drywall knife (6-inch and 10-inch)
Used to apply, spread, and feather joint compound at different stages.
Self-adhesive fiberglass mesh patch
Provides rigid bridging support for medium holes before compound is applied.
Drywall primer
Seals the repaired area so finish paint adheres evenly without flashing.
Sanding sponge or 120-grit sandpaper
Smooths dried compound between coats and before priming.
Paper joint tape
Reinforces seams on larger patches to prevent cracking over time.
For larger patches, you'll also need a drywall saw or utility knife, 1×3 or 1×4 pine boards to create backing supports, drywall screws, and a drill or screw gun. A corner bead may be needed if damage is near a wall corner.
Step-by-Step Repair Process
Follow these steps in order. Rushing any stage - especially drying time - is the most common cause of a repair that's visible after painting. For a detailed breakdown of which technique to match to which hole size, see drywall repair techniques matched by hole size.
Prepare the Damaged Area
Use a putty knife or utility knife to remove any loose drywall paper, crumbled gypsum, or flaking compound around the hole. The edges of the repair area should be firm and clean. For larger holes, use a drywall saw to cut a neat rectangle around the damage - straight edges make it far easier to fit a patch cleanly.
Install Backing (for holes larger than 4 inches)
For holes too large for a mesh patch, cut two lengths of 1×3 or 1×4 lumber several inches longer than the hole's height. Insert each board into the hole, position them along the left and right interior edges, and drive drywall screws through the existing drywall into each board. These boards become the anchor points for your new drywall piece.
Cut and Attach the Patch
For medium holes: apply a self-adhesive mesh patch centered over the hole, pressing it flat against the wall surface. For large holes: measure and cut a piece of drywall to fit the rectangle you've prepared, then fasten it to the backing boards with drywall screws, placing screws every 6 to 8 inches. Countersink screw heads slightly below the surface without breaking the drywall paper.
Apply the First Coat of Joint Compound
Using your 6-inch knife, apply a generous first coat of joint compound over the patch, mesh, or filled hole, pressing firmly to eliminate air pockets. For larger patches, embed paper tape into the wet compound along each seam, then skim another thin layer of compound over the tape. Keep the coat as flat as possible - this is not the time to worry about perfection, just solid coverage.
Sand, Then Apply Second and Third Coats
Allow the first coat to dry fully - typically 24 hours, though humidity and temperature affect drying time. Lightly sand any ridges or high spots, wipe away dust, then apply a second wider coat with your 10-inch knife, feathering the edges out 6 to 8 inches beyond the repair. Repeat after drying with a final thin skim coat, feathering even further. Three thin coats always outperform one thick one.
Finishing for a Seamless Result
The finishing stage is where patience pays off. Once your final coat of compound is fully dry, sand the area using a fine-grit sanding sponge or 120-grit sandpaper, working in broad, circular strokes and feathering well beyond the patch edges. Wipe away dust with a lightly damp cloth and allow the surface to dry completely.
Prime the repaired area before painting. Unprimed compound is highly porous and will absorb paint differently than the surrounding wall, leaving a dull spot - called flashing - even under multiple coats of the same paint color. A coat of drywall primer sealer solves this. Once primed, apply your finish paint in the same sheen and color as the rest of the wall. Applying paint in a light "W" pattern and blending outward helps disguise any slight texture variation.
Don't Skip the Primer Step
Painting directly over joint compound - even when it looks smooth and dry - almost always results in visible flashing once the paint dries. The compound absorbs paint at a different rate than the surrounding drywall, creating dull, uneven spots. A drywall-specific primer sealer is a quick, inexpensive step that makes the difference between a patch that's invisible and one that's obvious.

Author
Home & Garden Editorial Team
Home & Garden Editorial Team is the collective byline for our editorial team and contributor network. Articles published under this byline or an editorial pen name are researched, written, and reviewed according to our editorial standards for clarity, consistency, and independence before publication.
View all articles →