
Drywall Repair: Matching the Right Fix to the Size of the Hole
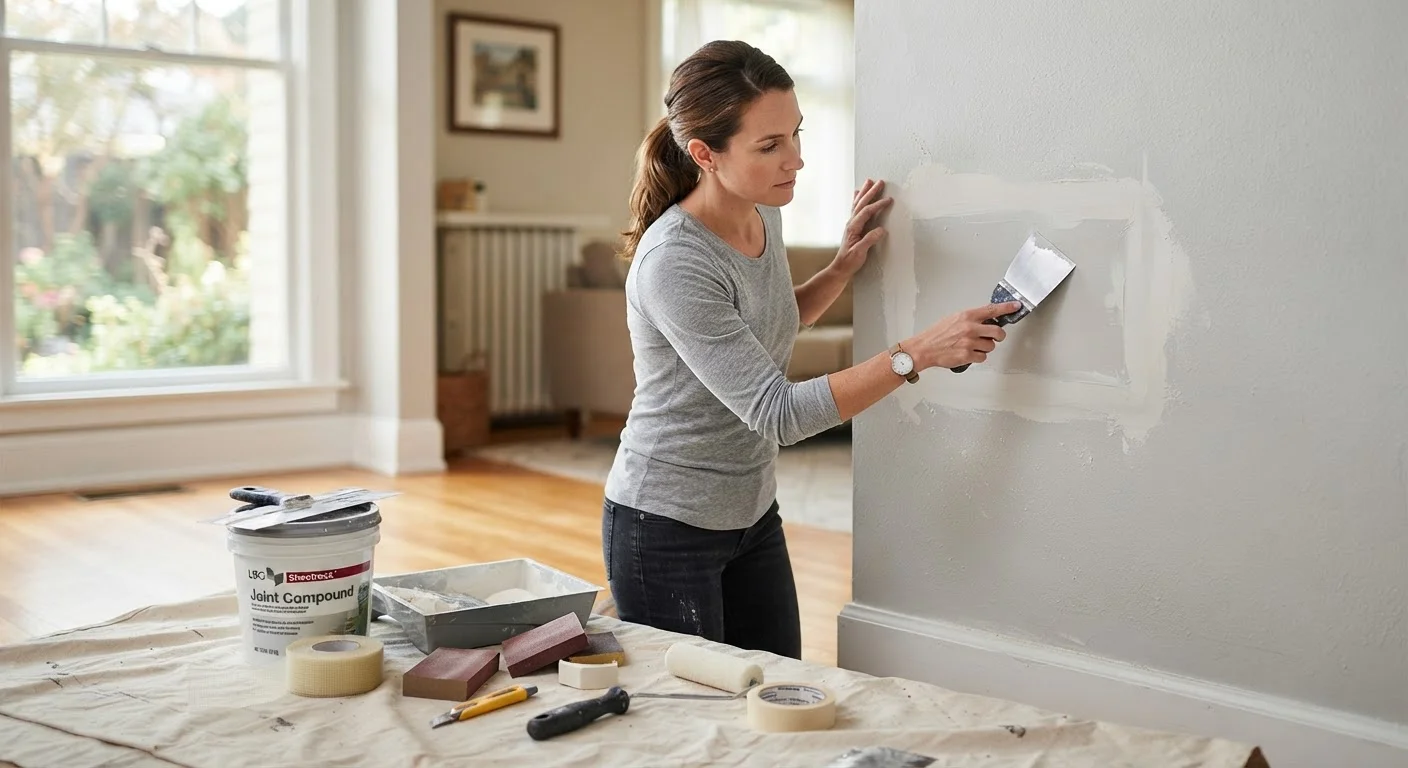
Photo credit: FaqInsider.com
In this article
From nail pops to fist-sized gaps, drywall damage has different solutions depending on scale. This guide covers techniques for each scenario step by step.
Key Takeaways
- Hole size determines the correct repair method - using the wrong approach wastes time and materials.
- Small holes under half an inch can be filled with lightweight spackling compound alone.
- Medium holes between half an inch and six inches need a backing support or self-adhesive mesh patch.
- Large holes over six inches require a California patch or a proper drywall panel replacement.
- Feathering joint compound in multiple thin coats is essential for an invisible, paintable finish.
- Priming the repaired area before painting prevents sheen differences and ensures color uniformity.
Why Hole Size Is the Starting Point
Drywall damage ranges from a tiny nail dimple to a gaping hole left by a doorknob - and the fix that works perfectly for one scenario will fail completely for another. Choosing the right method first saves you from redoing the job, and it all starts with measuring the damage.
As a general rule, repairs fall into three size categories:
- Small: Up to ½ inch (nail holes, picture hooks, small screws)
- Medium: ½ inch to 6 inches (doorknob dents, anchor pull-outs, minor impact damage)
- Large: Over 6 inches (fist-sized holes, plumbing access cutouts, major impact)
Each category calls for a different set of materials and techniques. For a broader look at how these methods relate to one another, see our complete drywall repair walkthrough.
What you will need
Tools and Materials You Will Need
Gather your supplies before you start. Having everything on hand prevents mid-project trips to the hardware store and keeps the compound from drying out while you search for a tool.
Lightweight spackling compound
Fills small nail holes and surface dings without shrinking significantly on drying.
All-purpose joint compound (pre-mixed)
Used to coat mesh patches and California patches and to feather edges for a smooth finish.
Self-adhesive fiberglass mesh patch
Provides a rigid backing for medium holes so compound has a surface to bond to.
Drywall screws and drywall backer board or wood strip
Creates structural support behind large holes so new drywall panel has something to fasten to.
Putty knife (3-inch) and drywall knife (6- to 10-inch)
The smaller knife applies spackling; the wider knife spreads and feathers joint compound.
Sandpaper (120-grit and 220-grit)
Smooths each dried coat of compound before the next application or before painting.
Drywall primer
Seals the repaired area so topcoat paint applies evenly and does not flash.
Utility knife and drywall saw
Trims damaged drywall edges cleanly and cuts replacement panels to size for large repairs.
Step-by-Step Repair Instructions by Size
Work through the steps that match your hole size. You do not need to follow all three sets - skip to the section that applies to your repair.
Small holes (up to ½ inch): fill with spackling
Using a 3-inch putty knife, press a small amount of lightweight spackling compound into the hole, overfilling it very slightly. Draw the blade flat across the wall to scrape away the excess, leaving the compound flush or just barely proud of the surface. Allow it to dry completely - the compound will typically shrink slightly and turn from pink to white or from grey to white depending on the brand. Apply a second thin coat if the surface is not perfectly flush, then sand smooth with 220-grit sandpaper once dry.
Medium holes (½ inch to 6 inches): apply a mesh patch
Clean the edges of the hole, removing any loose paper facing or crumbling gypsum. Peel the backing from a self-adhesive fiberglass mesh patch and center it over the hole, pressing firmly so it adheres to the surrounding drywall. Using a 6-inch drywall knife, apply a thin coat of all-purpose joint compound over the mesh, working it into the weave and spreading it 2-3 inches beyond the patch edges. Let dry fully, then apply a second coat, feathering the edges outward another 2-3 inches. A third thin skim coat is often needed for a truly flat surface. Sand smooth between each dried coat.
Large holes (over 6 inches): cut and back the repair
Use a drywall saw or utility knife to square off the damaged area into a clean rectangle or square - straight edges are much easier to patch cleanly. Cut two wood strips or a backer board to fit inside the wall cavity behind the hole, extending a few inches above and below it. Fasten them to the existing drywall using drywall screws so they bridge the opening. Cut a piece of new drywall to match the opening exactly, then screw it into the backing strips. Apply joint compound and drywall tape along all four seams, then feather with additional coats just as you would for a standard taping job. Sand between each dried coat.
Sand, prime, and inspect before painting
Once all compound coats are fully dry, sand the entire repair area with 120-grit paper, then finish with 220-grit. Run your hand flat across the surface - you should feel no ridge or depression where the repair meets the original wall. Wipe away dust thoroughly. Apply one full coat of drywall primer, let it dry per the label instructions, then inspect again under a raking light (hold a work lamp at a shallow angle to the wall). If shadows reveal low spots, skim on additional compound, re-sand, and re-prime. Paint only when you are satisfied with the surface.
Raking Light Is Your Best Quality Check
Before painting, hold a work lamp or flashlight at a near-parallel angle to the wall. This side-lighting reveals even subtle ridges, low spots, or tool marks that look invisible under overhead lighting. Addressing these now costs a few minutes; painting over them means a visible flaw for years.
Finishing and Painting for a Seamless Result
Regardless of which repair method you used, the finishing process is the same - and it is where most DIYers either achieve a professional result or leave a visible patch.
Allow each coat of joint compound to dry fully (typically 24 hours in normal indoor humidity) before sanding or applying the next coat. Sand with 120-grit sandpaper, then finish with 220-grit for a smooth surface. Wipe away all dust with a damp cloth before priming.
Priming is non-negotiable. Unprimed compound absorbs paint unevenly, creating a dull spot called flashing that is obvious even after multiple paint coats. A single coat of drywall primer seals the repair and creates a surface that accepts topcoat paint the same way the surrounding wall does. After priming, apply at least two coats of your wall paint, feathering each coat a few inches beyond the repair edge to blend the sheen.
Do Not Rush Between Compound Coats
Applying a second coat of joint compound over a coat that has not fully dried traps moisture beneath the surface. This leads to cracking, bubbling, and adhesion failure once the wall dries completely. In humid conditions or during cold weather, drying times can extend well beyond the typical 24-hour window - judge by color and touch, not just the clock.

Author
Home & Garden Editorial Team
Home & Garden Editorial Team is the collective byline for our editorial team and contributor network. Articles published under this byline or an editorial pen name are researched, written, and reviewed according to our editorial standards for clarity, consistency, and independence before publication.
View all articles →