
Composting at Home Without the Smell or the Hassle
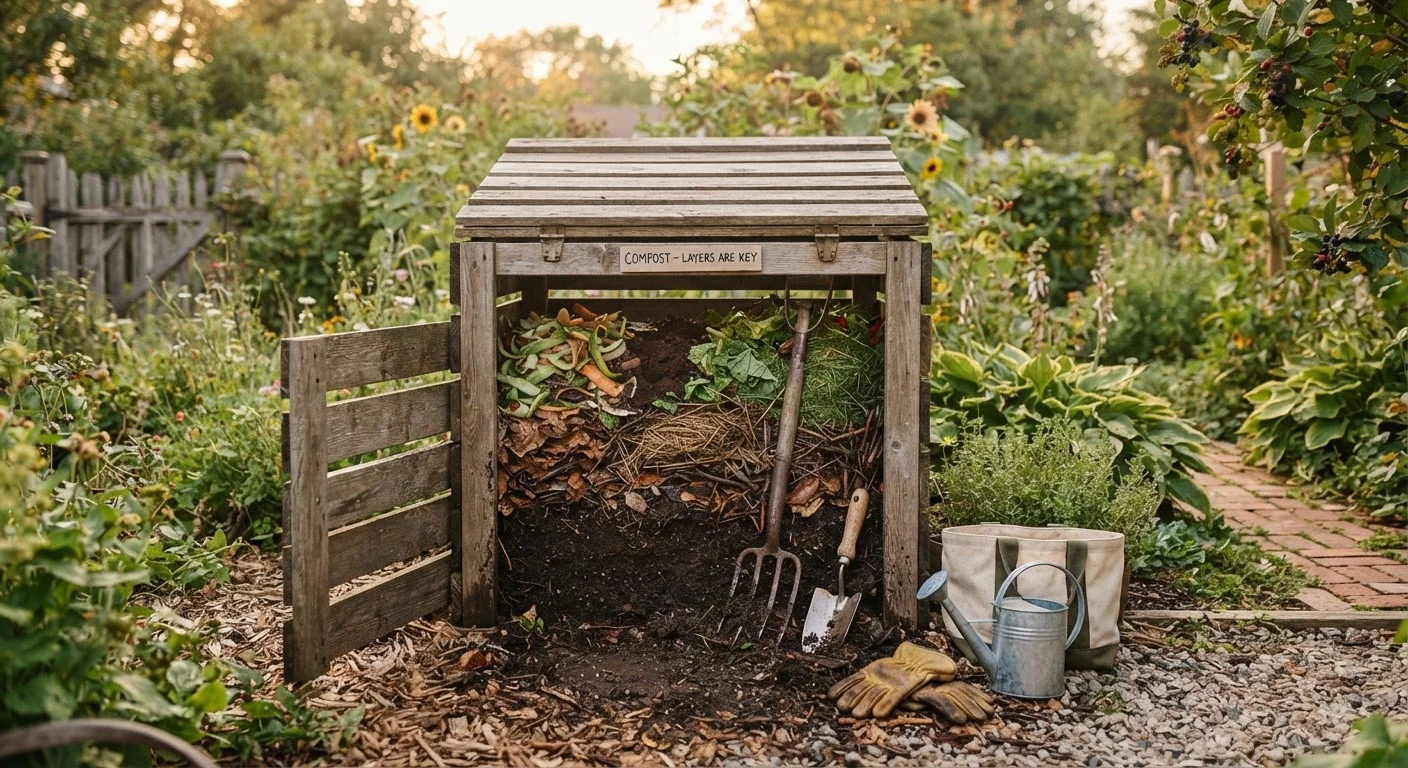
Photo credit: FaqInsider.com
In this article
A practical walkthrough for setting up and managing a backyard compost pile — what to add, what to avoid, and how to fix common problems.
Key Takeaways
- Balance 'green' nitrogen-rich materials with 'brown' carbon-rich materials to prevent odor.
- Moisture and airflow are the two most controllable factors in compost success.
- Meat, dairy, and cooked foods should stay out of backyard compost piles.
- Most odor and pest problems have straightforward fixes once you know the cause.
- Finished compost typically takes two to six months, depending on pile management.
- Home compost significantly reduces household waste sent to landfill.
Why Composting Gets a Bad Reputation - and Why It Doesn't Have To
Most people who have tried composting and quit cite the same two complaints: it smelled terrible, or it just sat there doing nothing for months. Both problems are solvable, and they usually trace back to the same root cause - an imbalanced pile.
Compost is made by microorganisms breaking down organic matter. Those microbes need four things to thrive: carbon, nitrogen, moisture, and oxygen. When any of these is out of balance, the process stalls or turns unpleasant. Understanding that basic relationship is enough to keep a pile working cleanly and efficiently.
Home composting also pairs naturally with broader soil-building goals. If you're interested in techniques that improve your soil over time, finished compost is one of the most versatile amendments you can add to any bed.
Start Small and Build Confidence
If this is your first time composting, begin with just one bin and a simple mix of kitchen scraps and dry leaves. You don't need a perfect system from day one - most experienced composters adjust their routine over a season or two. Even an imperfect pile will produce usable compost eventually.
What You Need Before You Start
Setting up a compost system doesn't require specialized equipment. A dedicated spot in your yard that gets partial sun and is reasonably close to where you generate kitchen scraps is the most important starting point.
What you will need
Compost bin or wire mesh enclosure
Contains materials, retains heat, and discourages pests.
Garden fork or compost aerator
Used to turn the pile and introduce oxygen to speed decomposition.
Small kitchen collection bin with lid
Collects vegetable scraps and coffee grounds indoors between trips to the main pile.
Compost thermometer
Measures internal pile temperature to confirm active decomposition is occurring.
Garden hose or watering can
Adds moisture when the pile becomes too dry.
Step-by-Step: Building and Managing Your Pile
Follow these steps to establish a functional pile from the start. Once the system is running, maintenance becomes a quick weekly routine.
Choose your composting method and location
Decide whether you'll use an open pile, a DIY bin made from pallets or wire mesh, or a purchased tumbler-style bin. Open piles work well in larger yards; enclosed bins are better for smaller spaces or areas where pests are a concern. Place your compost system at least 10 feet from the house and any water features, on a level, well-drained spot.
Start with a brown base layer
Lay down 4-6 inches of carbon-rich 'brown' material at the bottom: dry leaves, shredded cardboard, straw, or wood chips. This base layer promotes drainage and provides the carbon microbes need. Avoid glossy or heavily printed cardboard.
Add green materials and maintain the ratio
Add nitrogen-rich 'green' materials on top - vegetable and fruit scraps, coffee grounds, fresh grass clippings, or plant trimmings. Aim for roughly a 3:1 ratio of browns to greens by volume. This is a guideline, not a precise recipe: if the pile smells, add more browns; if it's not heating up, add more greens.
Check and adjust moisture
Grab a handful of material from the middle of the pile and squeeze it. It should feel damp - like a wrung-out sponge - but not drip water. If it's dry, add water with a hose and mix. If it's soggy, turn the pile and add dry browns.
Turn the pile regularly
Use a garden fork or compost aerator to turn the pile every one to two weeks. Turning introduces oxygen, which fuels aerobic decomposition and keeps temperatures high enough to kill weed seeds and pathogens. Move material from the outer edges toward the center where heat is highest.
Recognize when compost is finished
Finished compost is dark brown, crumbly, and smells like fresh earth - not like the original materials. If you can still identify food scraps or large chunks of material, give it more time. Move finished compost to a separate storage area and start a new pile or continue adding to the original bin.
What Should Never Go in a Backyard Pile
Meat, fish, bones, dairy products, cooked foods with oils or sauces, and pet waste should not be added to a standard backyard compost pile. These materials attract rodents and other pests, can introduce pathogens, and create persistent odors. Diseased plant material and weeds that have gone to seed are also better kept out unless your pile consistently reaches high internal temperatures.
Troubleshooting Common Compost Problems
Even a well-built pile can run into occasional issues. Here's how to read the signs and correct course quickly.
- Pile smells like ammonia or rotten eggs
- Ammonia odor signals too much nitrogen (green material). Add browns - shredded cardboard, dry leaves, or newspaper - and turn the pile. A sulfur smell usually means the pile is waterlogged and anaerobic; turn it and add dry material to restore airflow.
- Nothing seems to be breaking down
- The pile is likely too dry or lacks nitrogen. Water it until it feels like a wrung-out sponge, and mix in fresh grass clippings or vegetable scraps.
- Pests or rodents visiting the pile
- This almost always traces to food scraps being added incorrectly - especially cooked foods, meat, or dairy. Switch to a bin with a secure lid and buried base, and bury fresh kitchen scraps under existing material rather than placing them on top.
Once your compost is finished - dark, crumbly, and earthy-smelling - it's ready to work into garden beds, use as a top dressing for lawn areas, or blend into container soil mixes. For ideas on using it in smaller growing spaces, see our guide on container gardening on patios and balconies.

Author
Home & Garden Editorial Team
Home & Garden Editorial Team is the collective byline for our editorial team and contributor network. Articles published under this byline or an editorial pen name are researched, written, and reviewed according to our editorial standards for clarity, consistency, and independence before publication.
View all articles →