
Grout vs. Caulk: Choosing the Right Filler for Every Joint
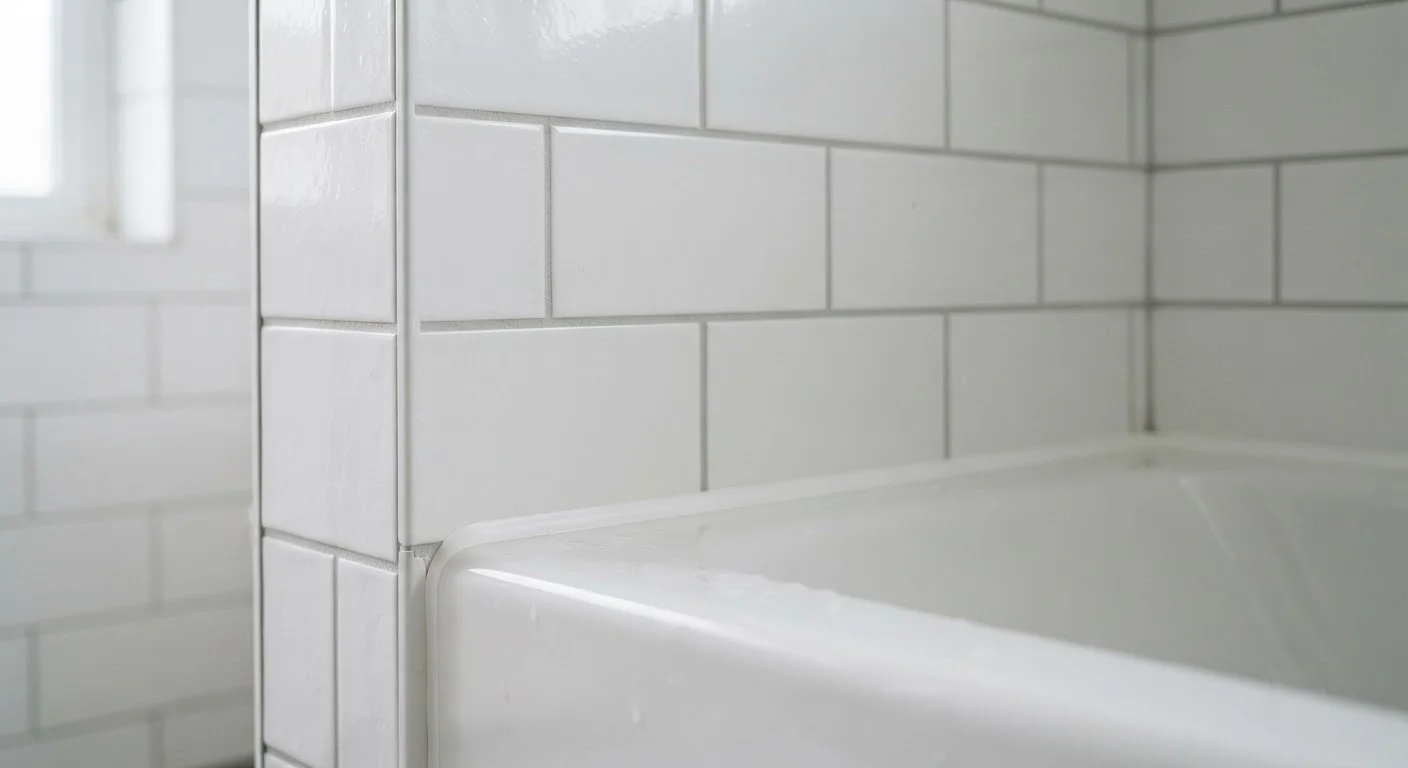
Photo credit: FaqInsider.com
In this article
Grout and caulk aren't interchangeable. Understand where each belongs in tile work, why it matters for waterproofing, and how to apply both correctly.
Key Takeaways
- Grout is rigid and belongs between tiles; caulk is flexible and seals movement joints.
- Using grout in corners or transition joints leads to cracking as surfaces expand and contract.
- Caulk should always be used where tile meets a tub, shower pan, countertop, or floor.
- Both materials require clean, dry surfaces and proper prep to bond and waterproof effectively.
- Sanded grout suits joints wider than 1/8 inch; unsanded suits narrower joints and wall tiles.
- Caulk must be replaced periodically; grout, when sealed, can last much longer with proper care.
What Each Material Actually Does
Grout and caulk are both used in tile work, but they serve fundamentally different purposes - and mixing them up is one of the most common (and costly) mistakes homeowners make during bathroom or kitchen projects.
Grout is a cement-based (or sometimes epoxy-based) filler used to fill the joints between tiles. Once cured, it's rigid. That rigidity is a feature, not a flaw - it gives the tile surface structural continuity and resists the compressive forces of foot traffic or daily use. Grout comes in two main forms: sanded (for joints wider than about 1/8 inch) and unsanded (for narrower joints and polished stone, where sand could scratch the surface).
Caulk is a flexible sealant - most commonly silicone or latex-based - used where two surfaces meet at a joint that is subject to movement, vibration, or thermal expansion. Caulk compresses and stretches without losing its seal. That flexibility is exactly what makes it the wrong choice for tile-to-tile joints, but the only right choice for transitions.
| Criterion | Grout | Caulk |
|---|---|---|
| Composition | Cement- or epoxy-based powder/paste | Silicone, latex, or acrylic sealant |
| Flexibility when cured | Rigid - does not flex | Flexible - absorbs movement |
| Primary joint type | Tile-to-tile joints | Corners, transitions, fixture edges |
| Waterproofing | Good when sealed; can absorb moisture | Excellent; non-porous when fully cured |
| Longevity | Many years with proper sealing | 5-10 years; requires periodic replacement |
| Color matching | Wide color range to match tiles | Limited palette; white and neutral most common |
| DIY difficulty | Moderate - technique-sensitive | Low to moderate - forgiving with practice |
Where Each One Belongs - and Why It Matters
The rule of thumb is straightforward: grout between tiles, caulk at every change of plane or surface. Here's what that looks like in practice:
- Use grout for all tile-to-tile joints on walls, floors, and countertops - the grid of lines across the face of your tiled surface.
- Use caulk at inside corners of a shower or tub surround, where the floor tile meets the wall tile, where tile meets a tub ledge or shower pan, and where a backsplash meets a countertop.
The reason this matters for waterproofing is physics. Structures flex. A tub deflects slightly when you step in; a house settles over time; temperatures make materials expand and contract. Rigid grout in a corner or transition joint will eventually crack - often within a year or two - creating a gap for water to enter the wall cavity. That hidden moisture leads to mold, damaged drywall, and potentially compromised tile substrates.
Caulk in those same joints absorbs movement and maintains its seal. For more detail on exactly where each material falls in a full bathroom tile job, see our dedicated placement guide on tile joint decisions.
A Note on Epoxy Grout
Epoxy grout is a premium alternative to cement-based grout. It's highly water-resistant, stain-resistant, and doesn't require sealing - making it a popular choice for shower floors and commercial kitchens. However, it has a faster working time and is less forgiving to apply than standard grout, so it's generally better suited to experienced DIYers or professionals.
Application Tips for Both Materials
Getting either material to perform well comes down to surface prep and technique.
Grouting correctly
- Ensure tiles are fully set and adhesive is cured before grouting - typically 24 hours, but check your tile adhesive's instructions.
- Mix grout to a smooth, peanut-butter-like consistency. Too wet means weak joints; too dry means crumbling.
- Work the grout diagonally across joints using a rubber float, pressing firmly to pack the joints fully.
- Wipe haze from tile faces with a damp sponge before grout sets - work in small sections.
- Seal porous grout after it has fully cured (usually 72 hours) to protect against staining and moisture absorption.
Caulking correctly
- Remove all old caulk completely and let the joint dry thoroughly - moisture prevents adhesion.
- Apply painter's tape along both edges for a clean line.
- Cut the caulk tube at a 45-degree angle and apply steady, consistent pressure as you draw a continuous bead.
- Smooth immediately with a wet finger or caulk tool, then remove tape before the caulk skins over.
- Allow caulk to cure fully before exposing it to water - silicone typically needs 24 hours.
Caulk is also useful far beyond tile work. If you're thinking about sealing drafts and leaks elsewhere in your home, window caulking is another area where proper application pays real dividends. And for gaps that aren't stationary, caulk versus weatherstripping can help you choose between the two sealing approaches.

Author
Home & Garden Editorial Team
Home & Garden Editorial Team is the collective byline for our editorial team and contributor network. Articles published under this byline or an editorial pen name are researched, written, and reviewed according to our editorial standards for clarity, consistency, and independence before publication.
View all articles →