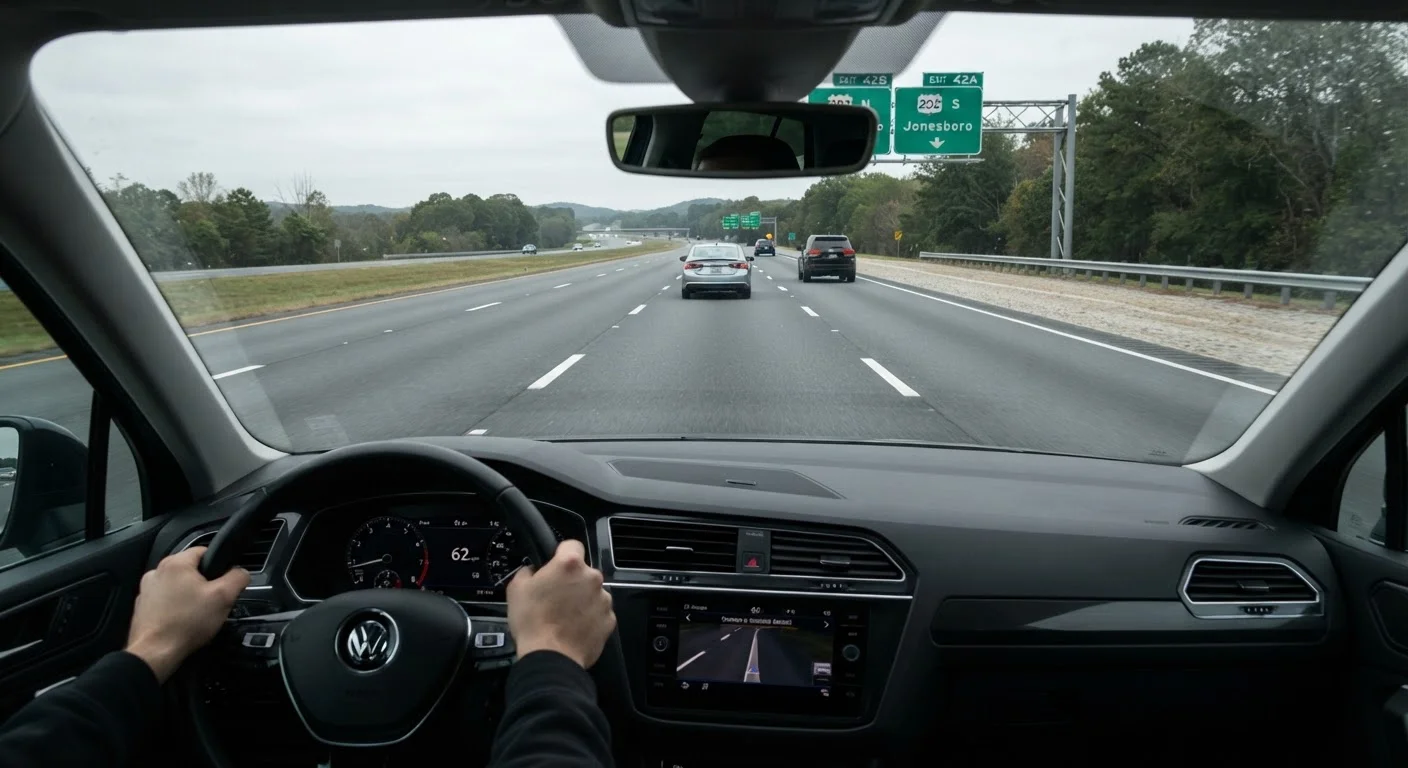
Blind Spots, Mirror Angles, and the Geometry of What You Can't See
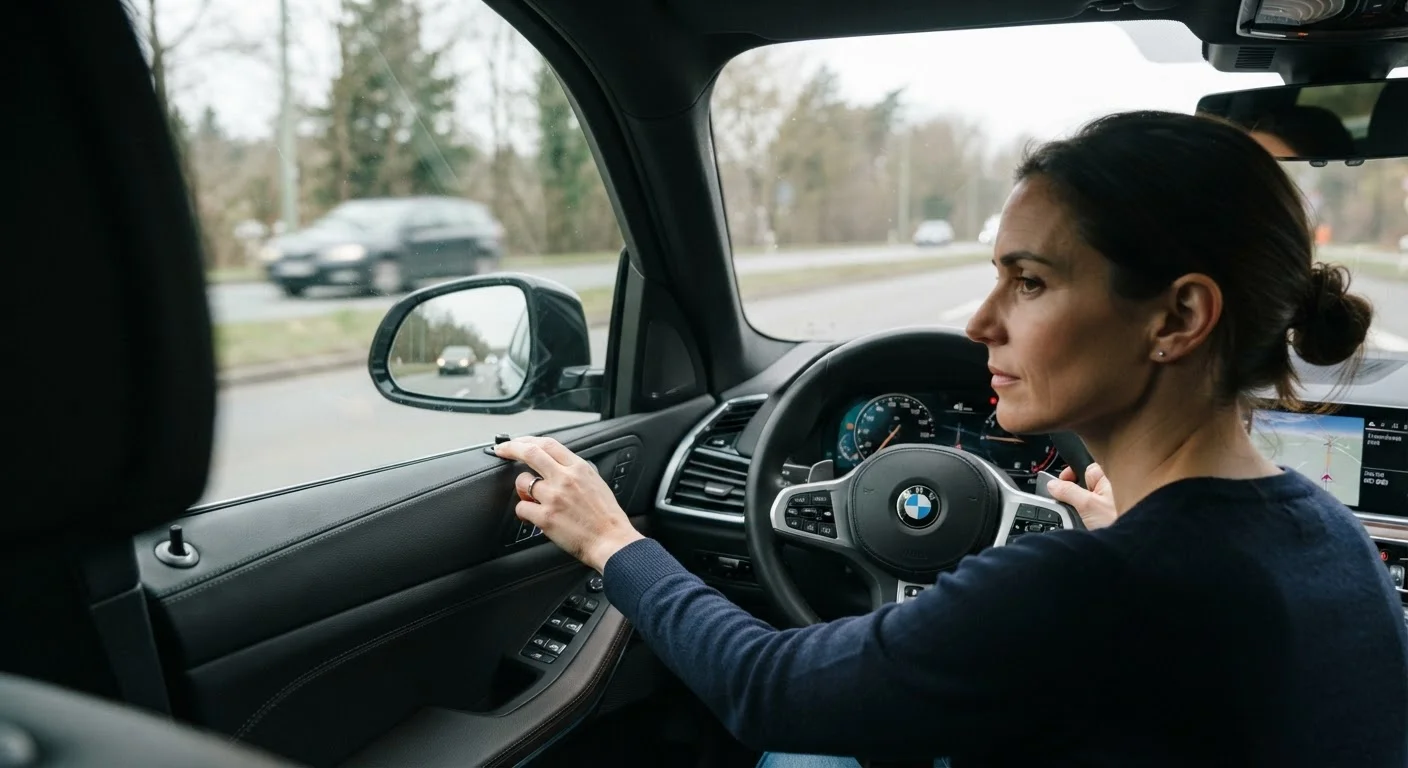
Photo credit: FaqInsider.com
In this article
Most drivers adjust mirrors wrong, leaving large blind spots. Here's how proper mirror positioning works and why it changes what you catch in time.
Key Takeaways
- Most drivers position side mirrors to show too much of their own car, creating unnecessarily large blind spots.
- A properly angled mirror system can nearly eliminate the traditional blind spot without requiring a head turn.
- Blind spots are geometry problems - correcting your mirror angles changes what you physically can and cannot see.
- The rearview mirror and both side mirrors serve distinct, non-overlapping roles that must work as a system.
- Even well-adjusted mirrors have limits; the physical head check remains essential before lane changes.
Why the Traditional Mirror Setup Creates a Problem
The instinct to keep your own car visible in the side mirrors comes from a logical place - it feels like an anchor point, something familiar to orient around. But that instinct works against you. Each mirror has a fixed field of view. Every degree you spend reflecting your own door panel is a degree not spent watching the lane beside you.
Traffic safety researchers have studied this for decades. The Society of Automotive Engineers published work in the 1990s demonstrating that angling side mirrors outward - far beyond what most drivers use - dramatically reduces the uncovered zone beside the vehicle. That research has influenced modern driver education, though old habits in the driver's seat have been slow to follow.
The geometry is straightforward: your rearview mirror covers the zone directly behind you. Your side mirrors, if positioned correctly, cover the zones to your left and right rear - with slight overlap at the transitions. The traditional setup, where side mirrors partially duplicate the rearview's field, leaves the true blind spot - the space beside and slightly behind your rear door - completely uncovered. That's exactly where another vehicle sits before a lane change goes wrong. For a broader view of habits that affect crash risk, the dynamics of high-risk driving zones are worth understanding alongside mirror technique.
Mirror Adjustment Is Driver-Specific
Mirrors set for one driver do not work correctly for another. If you share a vehicle, readjust all three mirrors every time before driving - this takes under a minute. Never assume a previous driver's settings are safe for you.
How to Adjust Your Mirrors Correctly
Getting this right takes less than five minutes and requires no tools. Start with the prerequisites below, then follow the steps in order. Mirror adjustment is driver-specific - anyone who shares the vehicle will need to repeat this process from their own seated position.
What you will need
Vehicle mirrors (rearview + both side mirrors)
The three-mirror system that must work together to provide continuous coverage of the traffic field behind and beside you.
Blind spot detection stickers (convex add-ons)
Small wide-angle lens attachments that expand the reflected field of a flat side mirror for vehicles without factory blind spot monitoring.
Sit in your normal driving position before touching any mirror
Sit exactly as you would while driving - seat adjusted for your typical posture, hands where they'd rest on the wheel. Mirror angles are calculated from your eye position, so adjusting mirrors while sitting differently than you normally drive defeats the entire process. Do not slouch or sit unusually upright for this step.
Set the rearview mirror to frame the full rear window
The flat interior rearview mirror should show the entire rear window with minimal border - the reflected image should be centered and as wide as your window allows. This mirror covers the direct zone behind you. It does not need to show any part of your vehicle's interior. If you see your headrests filling the sides of the reflection, the mirror is angled too far inward.
Angle the driver's side mirror outward - past your car's body
The most common mistake: drivers position the left side mirror so a sliver of their own car's rear quarter panel is visible on the right edge of the reflection. This feels intuitive but wastes valuable mirror real estate on something you already know is there - your own car.
Instead, angle the driver's side mirror outward until your vehicle is just barely visible, then move it one click further outward. Your car should account for no more than a thin strip at the inner edge, with the majority of the mirror showing the adjacent lane.
Angle the passenger's side mirror using the same logic - but go further out
The right side mirror needs to be angled even more outward than the left, because your eye position is further from it. Lean slightly toward the center console while adjusting, then return to your normal position - the mirror should now show minimal car body and maximum lane coverage to the right. The passenger-side blind spot is wider by nature, so correcting it requires a more aggressive outward angle.
Verify continuous coverage across all three mirrors
The goal is a seamless handoff: a car passing you from behind should first appear in your rearview mirror, then transition into your side mirror as it moves alongside you, with the two reflections briefly overlapping. If a vehicle disappears from the rearview and doesn't immediately appear in the side mirror, that gap is a blind spot. Adjust accordingly until transitions are smooth and continuous.
Confirm your process with a head check during your next drive
On your next drive - particularly on a multi-lane road - test the system. When a vehicle passes you and enters your side mirror, note how quickly it appears in your peripheral vision without needing a full head turn. The head check before lane changes is still essential, but with correctly angled mirrors it should confirm what you largely already see, rather than reveal something completely hidden. See our guide to merging on the highway for how this translates to real lane-change situations.
Mirrors Don't Replace the Head Check
Even with textbook mirror angles, motorcycles, cyclists, and small vehicles can still fall outside the reflected field - particularly at close range during a lane change. Always perform a quick over-the-shoulder glance before moving laterally, especially at highway speeds. Mirror adjustment reduces blind spots; it does not eliminate every risk.
Putting Better Mirror Habits Into a Larger Safety Picture
Correcting your mirrors is one of the highest-leverage changes a driver can make without any cost or hardware. But it works best as part of a system of habits, not as a standalone fix.
Before any drive, a quick walkthrough of your vehicle's condition - including a visual check of mirror condition for cracks or fogging - is worth building into your routine. Our pre-trip safety walkthrough covers exactly this kind of quick verification. Visibility also degrades significantly at night, where even well-adjusted mirrors catch less contrast and detail - the specific challenges of night driving are worth understanding separately.
Mirror geometry doesn't change with weather, but what your mirrors can show you does. Rain, fog, and dirty glass all reduce effective reflection. On wet roads or in low visibility, increase your following distance so that the zone your mirrors cover remains meaningful rather than compressed. See how traction and visibility interact in bad weather for technique that works alongside better mirror habits.
Use a Wet Window to Verify Coverage
On a rainy day, you can trace the reflected coverage of each mirror by noting exactly where moving vehicles appear and disappear as they pass. Any gap between where a car leaves your rearview and enters your side mirror - without briefly appearing in both - signals a blind spot that still needs addressing.

Author
Cars Editorial Team
Cars Editorial Team is the collective byline for our editorial team and contributor network. Articles published under this byline or an editorial pen name are researched, written, and reviewed according to our editorial standards for clarity, consistency, and independence before publication.
View all articles →