
Composting at Home: Turning Kitchen Scraps Into Garden Gold
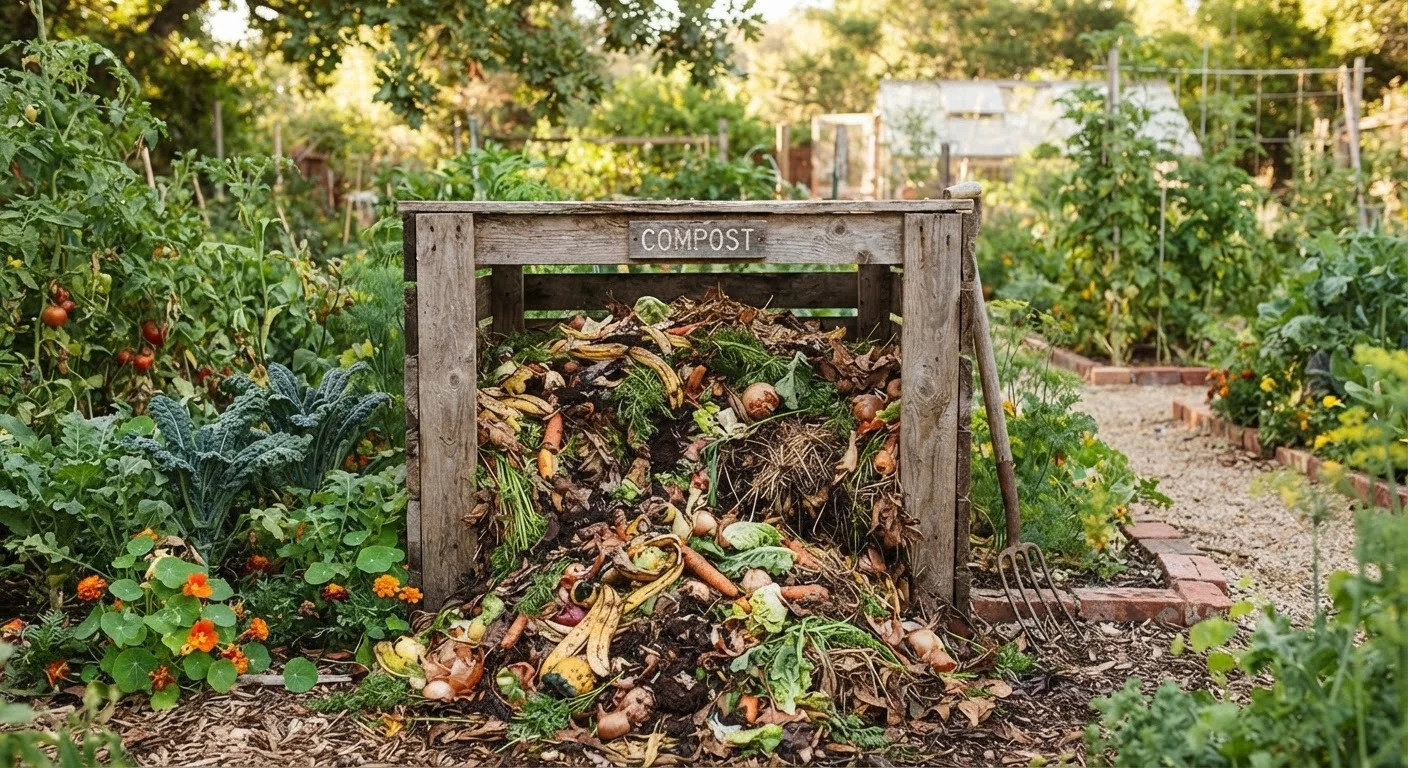
Photo credit: FaqInsider.com
In this article
Learn how to set up and maintain a backyard compost pile that produces rich, finished compost for your lawn and garden beds.
Key Takeaways
- Compost requires a balanced mix of nitrogen-rich greens and carbon-rich browns to break down properly.
- Moisture and aeration are the two most controllable factors for faster, odor-free composting.
- Finished compost looks like dark, crumbly soil and smells earthy - not rotten.
- Most kitchen scraps and yard waste can be composted; meat, dairy, and oils should be kept out.
- A backyard pile can produce usable compost in as little as two to three months with regular turning.
Why Composting Is Worth the Effort
Compost - sometimes called humus once fully decomposed - is organic matter broken down by microorganisms into a dense, nutrient-rich material that conditions soil, feeds plants, and improves drainage. Unlike synthetic fertilizers, compost releases nutrients slowly and builds long-term soil structure. If you're starting a vegetable garden from scratch, working finished compost into your beds before planting can significantly improve early results.
Beyond the garden benefits, composting diverts food and yard waste from landfills, where organic matter breaks down anaerobically and releases methane. A backyard pile, by contrast, works aerobically - with oxygen - and produces no harmful gases when managed correctly. The upfront effort of setting one up pays dividends in healthier plants and reduced waste for years.
Coffee Grounds Are a Composting Powerhouse
Used coffee grounds are a nitrogen-rich green that decomposes quickly and attracts beneficial worms. They're also fine to add directly to garden beds in small quantities. Just don't overload your pile with them - balance with browns as you would any other green material.
What You'll Need to Get Started
You don't need expensive equipment to compost successfully. A simple contained space - whether a purchased bin, a DIY wooden frame, or even an open pile in a corner of your yard - works fine. That said, an enclosed bin helps retain moisture and discourages pests, especially in suburban settings.
Compost bin or enclosure
Keeps the pile contained, retains heat and moisture, and discourages pests.
Garden fork or compost turning tool
Used to aerate and mix the pile regularly, which accelerates decomposition.
Kitchen scrap collection bin with lid
Collects vegetable peels, coffee grounds, and other food scraps conveniently before transferring to the outdoor pile.
Garden hose or watering can
Used to moisten the pile if it becomes too dry during warm or dry weather.
Compost thermometer
Measures internal pile temperature to confirm active decomposition is occurring.
Wire mesh or hardware cloth
Can be fashioned into a simple open bin and helps keep rodents from accessing the pile.
What you will need
Building and Maintaining Your Compost Pile
The core principle of composting is balance: roughly equal parts greens (nitrogen sources) and browns (carbon sources) by volume, kept moist but not waterlogged. Greens include fruit and vegetable scraps, coffee grounds, and fresh grass clippings. Browns include dry leaves, cardboard, straw, and paper. Too many greens and your pile gets slimy and smelly; too many browns and it barely decomposes at all.
Follow the steps below to build a functional pile from scratch and keep it producing finished compost reliably.
Choose and Set Up Your Bin or Pile Location
Pick a spot that gets partial sun and is reasonably accessible year-round. A location that's too shaded stays cold and damp; full sun dries the pile out quickly. Aim for at least a 3×3×3 foot footprint - this is the minimum mass needed to generate the heat that accelerates decomposition. Place your bin or frame on bare soil so worms and beneficial organisms can enter from below.
Lay a Browns Base Layer
Start with a 4-6 inch layer of coarse brown material - wood chips, straw, or shredded cardboard - directly on the ground. This base layer allows air to circulate from underneath, which prevents the soggy, anaerobic conditions that cause bad odors. It also gives worms and microbes an initial carbon source to work with.
Add Alternating Layers of Greens and Browns
Layer green and brown materials in roughly equal volumes - think of it like lasagna. Add a few inches of kitchen scraps or grass clippings, then cover with an equal or slightly larger volume of dry leaves or torn cardboard. Each time you add fresh kitchen waste, bury it in the center of the pile and cover it with browns to minimize odors and pest interest.
Check and Adjust Moisture
Your pile should feel about as damp as a wrung-out sponge - moist throughout, but not dripping. Stick your hand (wear gloves) into the center; if it's bone dry, water it gently and mix. If it's soggy, add dry browns and turn it to introduce air. In dry climates or hot summers, you may need to water the pile occasionally. In rainy seasons, a simple tarp or bin lid helps prevent waterlogging.
Turn the Pile Regularly
Turning - moving material from the outside of the pile to the inside - introduces oxygen, which feeds aerobic microorganisms and speeds decomposition. Turn your pile every one to two weeks for fastest results. If you turn less frequently (monthly), the pile will still work - just more slowly. Use a garden fork or compost turning tool to mix thoroughly, bringing the cooler outer edges into the warmer center.
Monitor Progress and Harvest Finished Compost
After two to three months of active management - or four to six months with minimal turning - check the bottom and center of the pile. Finished compost is dark, uniform, and earthy-smelling. If only part of the pile is done, harvest the finished material from the bottom and return unfinished chunks to continue breaking down. Store finished compost in a covered bin or pile until you're ready to use it, and it will remain stable for months.
Troubleshooting Common Compost Problems
Even a well-set-up pile can run into issues. Most problems trace back to moisture, aeration, or balance - and all are fixable.
- Pile smells like ammonia: Too many greens. Add a layer of dry leaves or cardboard and turn the pile.
- Pile smells like rotten eggs: Too wet and not enough air. Turn it thoroughly and add dry browns to absorb excess moisture.
- Nothing is breaking down: Pile is too dry, too small, or lacks nitrogen. Water it, and mix in fresh kitchen scraps or grass clippings.
- Pests are getting in: Avoid adding meat, dairy, cooked foods, or oily scraps. Bury fresh kitchen waste in the center of the pile and consider switching to an enclosed bin.
For those working with limited outdoor space, the same principles apply to smaller-scale methods. See our guide to container gardening on patios and balconies - finished compost is an excellent amendment for potting mixes too.
Never Compost These Materials
Meat, fish, bones, dairy products, oils, and cooked foods attract pests and can introduce pathogens into your pile. Pet waste and diseased plants should also be kept out - they can harbor harmful organisms that survive composting temperatures in home piles. Stick to raw fruit and vegetable scraps, plant-based yard waste, coffee grounds, paper, and cardboard.
Using Finished Compost in Your Garden
Finished compost is dark brown to black, crumbly, and smells like fresh earth - not like the original ingredients. If you can still identify large chunks of food or leaves, it needs more time. You can sift out partially broken-down material and return it to the active pile.
Once ready, apply 1-3 inches of compost to garden beds and work it into the top few inches of soil before planting. It can also be used as a top dressing around established plants or mixed into potting soil at roughly 25-30% by volume. Compost is not a fertilizer in the conventional sense - it won't deliver a concentrated nutrient spike - but it steadily feeds soil biology and improves structure season after season. Pairing compost use with soil-building gardening techniques compounds the benefit over time.
If you're preparing beds in autumn, adding compost during your fall garden cleanup gives it time to integrate before spring planting begins.

Author
Home & Garden Editorial Team
Home & Garden Editorial Team is the collective byline for our editorial team and contributor network. Articles published under this byline or an editorial pen name are researched, written, and reviewed according to our editorial standards for clarity, consistency, and independence before publication.
View all articles →