
Your Attic Insulation Is Probably Underperforming - Here's How to Tell
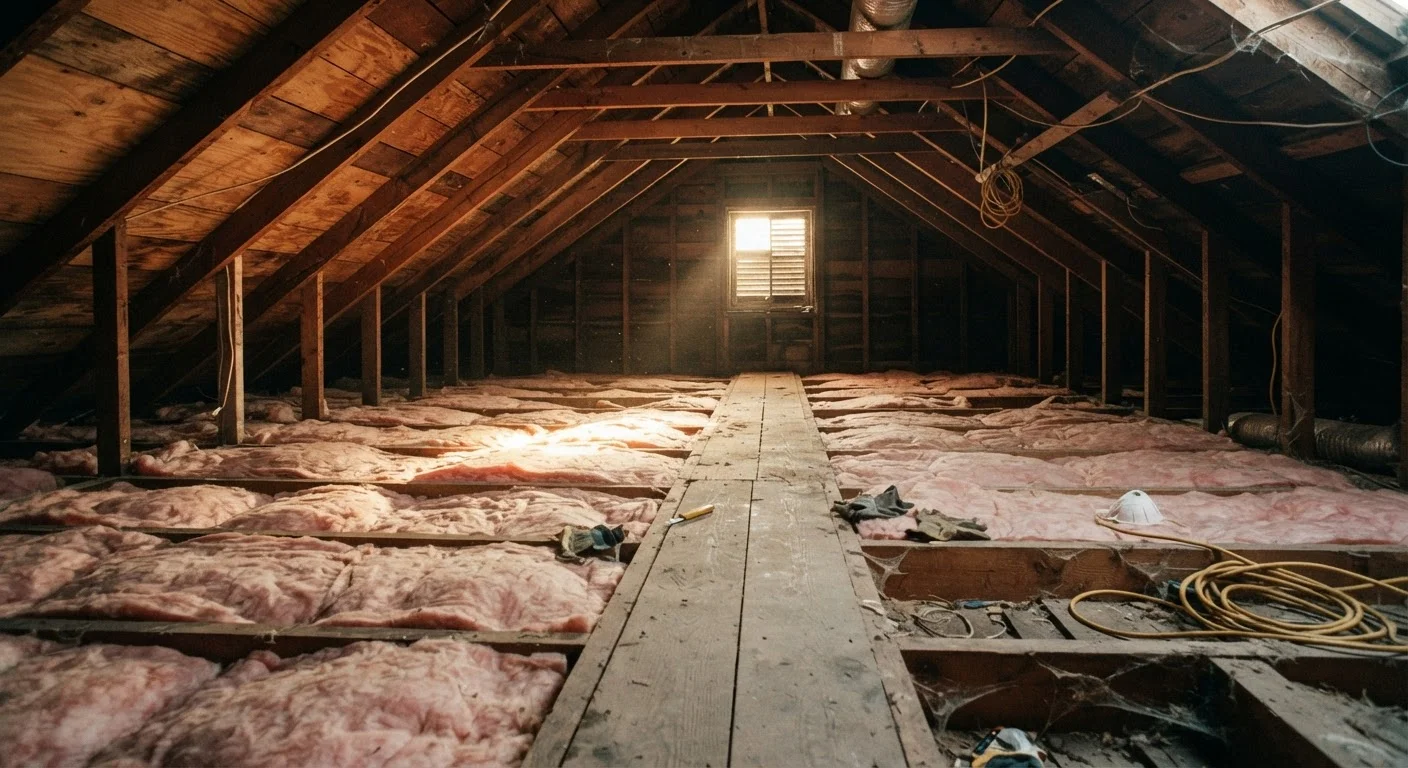
Photo credit: FaqInsider.com
In this article
Learn the signs of inadequate attic insulation, how R-value ratings work, and what options exist for improving energy efficiency in your home.
Key Takeaways
- Most U.S. attics need an R-value between R-38 and R-60 depending on climate zone.
- Common signs of underperforming insulation include uneven room temperatures, high energy bills, and ice dams in winter.
- Compressed or settled insulation loses effective R-value even if it looks present and intact.
- Sealing air leaks before adding insulation significantly improves the result.
- A qualified energy auditor can measure your attic's current R-value accurately.
The Warning Signs You Shouldn't Ignore
Attic insulation doesn't announce when it's failing. Instead, the clues show up elsewhere in your home - and they're easy to misread. If you're noticing any of the following patterns, your attic is worth a closer look.
- Rooms that never feel comfortable: Bedrooms on the top floor that stay stubbornly hot in summer or cold in winter, despite a working HVAC system, often point to an under-insulated attic above them.
- Energy bills that keep climbing: When your heating and cooling system works harder to compensate for heat loss or gain through the attic, your utility bills reflect it.
- Ice dams in winter: These ridges of ice that form along the roofline happen when warm air escaping through the attic melts roof snow, which then refreezes at the cold eaves. They're a reliable sign that heat is escaping where it shouldn't be.
- Drafts near the ceiling: Cold air infiltration can enter through attic bypasses - gaps around plumbing, wiring, and light fixtures - and settle into living spaces below.
These symptoms don't always mean you need a full insulation replacement. Sometimes the issue is air leakage, not just insulation depth. That's an important distinction. See our guide to reading your home's warning signs for a broader look at what household symptoms actually mean.
90%
U.S. homes that are under-insulated
The North American Insulation Manufacturers Association has estimated that roughly 90% of U.S. homes lack adequate insulation, based on energy audit data.
15%
Heating and cooling savings from air sealing and insulation
The U.S. Department of Energy estimates homeowners can save around 15% on heating and cooling costs by sealing air leaks and adding insulation to attics and crawl spaces.
R-38 to R-60
Recommended attic R-value for most U.S. homes
According to the DOE's climate zone guidelines, most American homes fall in zones requiring R-38 to R-60 for attic insulation.
Understanding R-Value and Why Thickness Alone Isn't Enough
R-value is the single most important specification to understand when evaluating your attic insulation. It measures resistance to heat flow - and it tells you more than just how thick your insulation is.
Different materials carry different R-values per inch. Fiberglass batts typically offer around R-3 to R-4 per inch. Blown-in cellulose lands around R-3.2 to R-3.8 per inch. Spray foam - depending on type - can range from R-3.7 to over R-6 per inch. This means a thinner layer of one material can outperform a thicker layer of another.
What many homeowners don't realize is that compression dramatically reduces effective R-value. Fiberglass batts that have been flattened by storage boxes or foot traffic in the attic no longer deliver their rated performance, even if they look intact. The same applies to old insulation that has settled significantly over decades.
The U.S. Department of Energy divides the country into climate zones, with R-value recommendations for attics ranging from R-30 in the warmest southern zones up to R-60 in the coldest northern regions. Most of the continental U.S. falls in zones requiring R-38 to R-49. If your attic insulation is more than 15-20 years old and has never been assessed, it's worth having the depth and type evaluated. Common insulation misconceptions - including confusion about R-value stacking and vapor barriers - can lead homeowners to underestimate how much improvement is actually possible.
How to Do a Basic Attic Insulation Check
You don't need specialized tools to do an initial assessment. Here's a practical approach for a safe, basic inspection:
- Access the attic carefully. Use a stable ladder to reach the access hatch. Wear a dust mask, eye protection, and long sleeves - older insulation materials can irritate skin and lungs. Never step between joists onto the drywall below; walk only on joists or boards laid across them.
- Look at depth first. If you can see the tops of the floor joists, you almost certainly need more insulation. A ruler or measuring tape gives you a precise depth reading to compare against R-value charts.
- Check for gaps and bypasses. Look for open areas around recessed lighting, plumbing vents, chimneys, and attic hatches. These bypasses allow conditioned air to escape and are often more impactful than overall insulation depth.
- Look for moisture or pest damage. Staining, matting, or a musty smell can indicate moisture intrusion that compromises insulation performance. Visible pest nesting means the insulation may need removal and replacement.
If you're uncertain about what you're seeing - or if you find signs of moisture or mold - stop and consult a qualified professional before proceeding. An energy auditor can conduct a more thorough assessment using blower door tests and thermal imaging.
Seal Before You Insulate
Air sealing - caulking and foaming gaps around pipes, wires, and fixtures - should always happen before new insulation goes in. Adding insulation over unsealed bypasses is like adding a thicker blanket with holes in it. Tackle the gaps first for the best return on your investment.
Your Options for Improving Attic Insulation
Once you know your attic is underperforming, you have several paths forward. The right choice depends on the existing insulation type, your home's construction, and your climate zone.
Air sealing first, always. Before adding any insulation, sealing air bypasses is the highest-value step. Caulk and expanding foam around penetrations can dramatically reduce heat transfer without adding a single inch of insulation material. Skipping this step means new insulation is doing less work than it could.
Adding blown-in insulation over existing batts is one of the most common and cost-effective improvements for attic floors. Cellulose and fiberglass blown-in products can be layered over existing insulation to reach target R-values. This is a project some experienced DIYers take on, as blown-in equipment can often be rented - but proper technique matters for achieving consistent depth.
Spray foam is frequently used for sealing the attic's roof deck (the underside of the roof sheathing) in unvented attic designs, rather than the floor. This creates a conditioned attic space and is typically a professional installation. For a detailed comparison, see our overview of open-cell vs. closed-cell spray foam.
For an overview of all insulation materials and where each works best, home insulation types explained covers batts, blown-in, spray foam, and rigid board in plain terms. And because insulation doesn't work in isolation, it's worth understanding how attic insulation and ventilation interact - adding insulation without adequate ventilation can create moisture problems that undermine the whole system.
Frequently Asked Questions

Author
Home & Garden Editorial Team
Home & Garden Editorial Team is the collective byline for our editorial team and contributor network. Articles published under this byline or an editorial pen name are researched, written, and reviewed according to our editorial standards for clarity, consistency, and independence before publication.
View all articles →